A
Alyssa Rivers
Guest
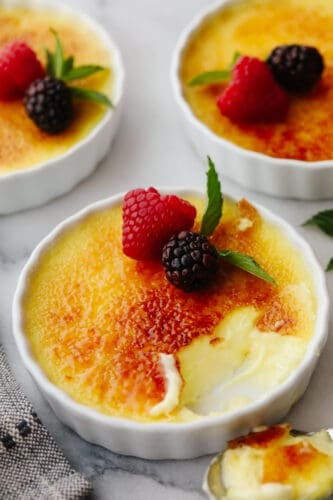
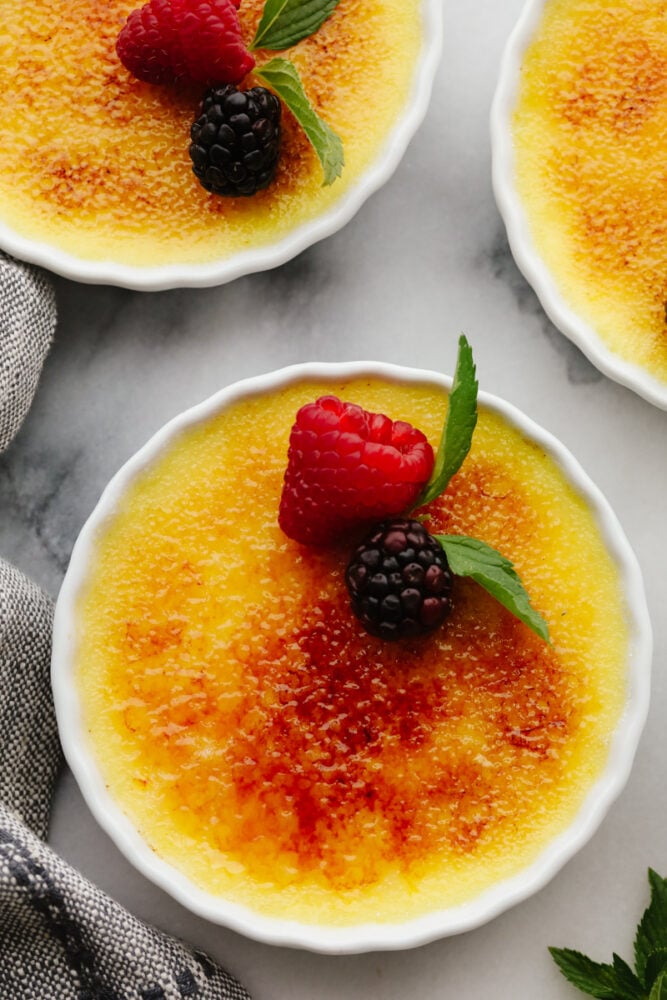
This creme brûlée is a simple but elegant dessert that will impress all of your guests! You just can’t beat a creamy custard topped with caramelized sugar and delicious fresh fruit!
If you enjoy this creme brûlée recipe, you will LOVE this fudge, these delicious peanut butter cups, or this simple Toffee! They are always a huge hit when I bring them to any get-together!
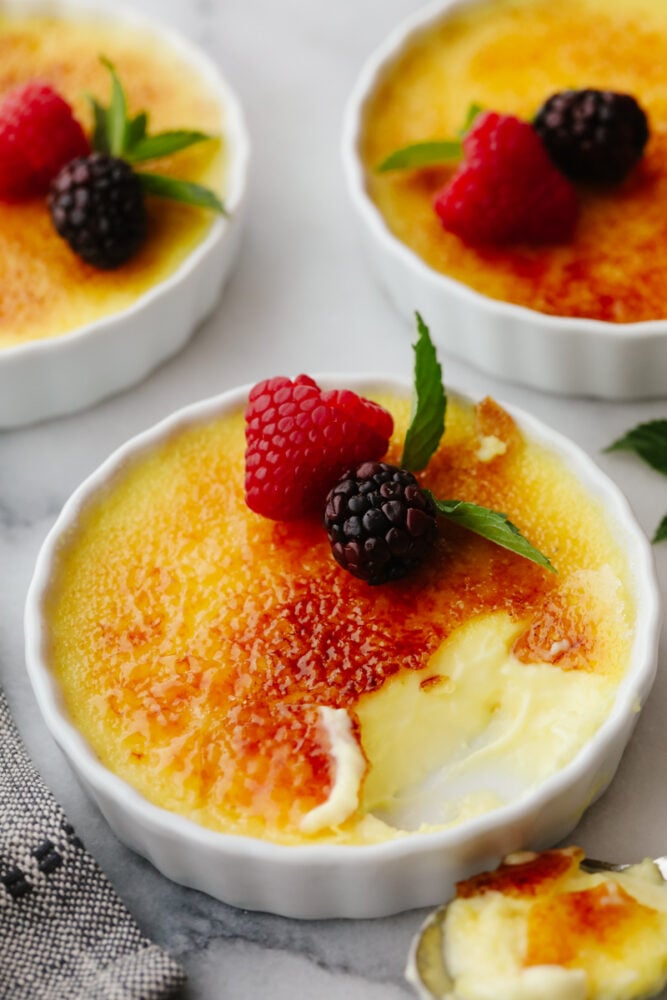
Creme Brûlée
The thought of making creme brûlée can be intimidating if you’ve never made it! But trust me, it’s easier than you think! It is made with just a few ingredients and very little prep time! One of the best things about creme brûlée is that you can make it a few hours or even a few days in advance! You just have to finish off the topping just before you’re ready to serve. This recipe tastes just as good (if not better!) as all of the ones that I have tried at fancy restaurants!
This creme brûlée makes the perfect dessert for serving to guests — they’ll be wowed by its presentation! But the reality is that you didn’t have to spend a lot of hands-on time preparing it. Creme brûlée is made of eggs, cream, sugar, and vanilla! That’s it! It makes a delicious custard-like filling that you put into a dish (called a ramekin) and let set. Then you torch it to get that crispy top. It is SOO GOOD and definitely one of my favorite desserts ever! Once you are done trying out this recipe, you MUST try these cannolis, this easy English trifle, and this rice pudding!
Ingredients You Need to Make Creme Brûlée
You only need FOUR ingredients to make this! Don’t let its presentation scare you… Anyone can make this!! See the recipe card at the bottom of the post for a list of exact measurements.
- Heavy cream: This is what will give it that familiar, custard taste!
- Egg yolks: Using only egg yolks helps get that creamy texture. If you used whole eggs (including the egg whites) then it would be too firm and set.
- Granulated sugar: This makes the flavor sweet! Use a little bit less than called for on the recipe card if you don’t like it quite as sweet! You will also use this for the topping to get that crunchy top!
- Vanilla: This enhances all of the sweet flavors!
Let’s Make Some Creme Brûlée!
As long as you follow these directions closely then your creme brûlée will turn out perfectly! Your guests will be complimenting you all night long!
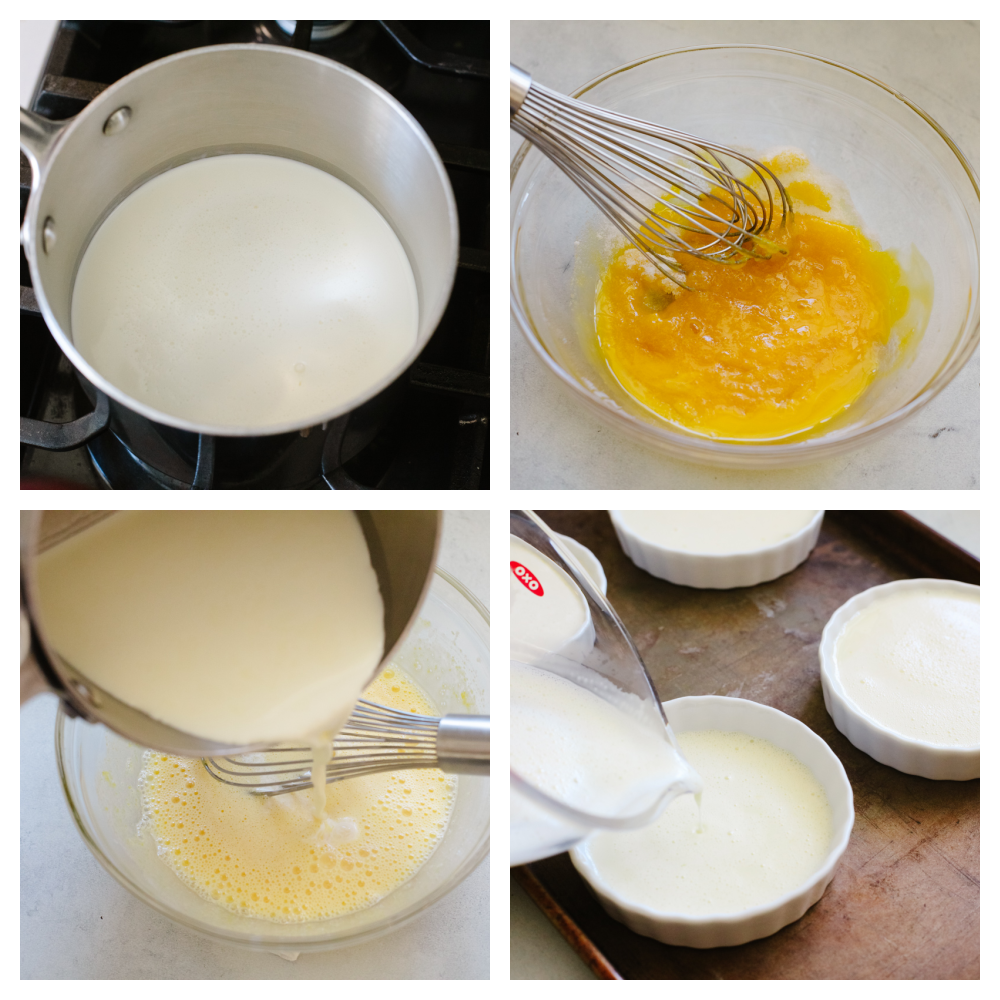
- Heat cream: In a small pot, heat cream over medium heat until hot but not boiling — small bubbles will appear just along the edge of the pot.
- Whisk yolks, sugar and vanilla: Meanwhile, whisk together egg yolks, ⅓ cup sugar and vanilla — I like to do this in a large glass measuring cup for easy pouring!
- Add egg yolk mixture to cream: When the cream is hot, add it to the egg yolk mixture a little at a time, whisking well after each addition.
- Pour: Pour into 4 7-8oz ramekins (wider and shallower is better if you have them).
- Add to water bath: Place filled ramekins in a large baking dish and fill the baking dish with hot water so that it comes ¾ of the way up the sides of the ramekins — be careful not to get any water in the custard!
- Bake: Bake at 325 degrees F for 30-45 minutes — this will depend on how deep the custard is! (smaller ramekins mean a deeper custard = longer bake time) The top will appear set but underneath it will still jiggle.
- Cool and chill: Cool to room temperature and then refrigerate for at least 2 hours until chilled. (You can wrap and refrigerate up to 3 days).
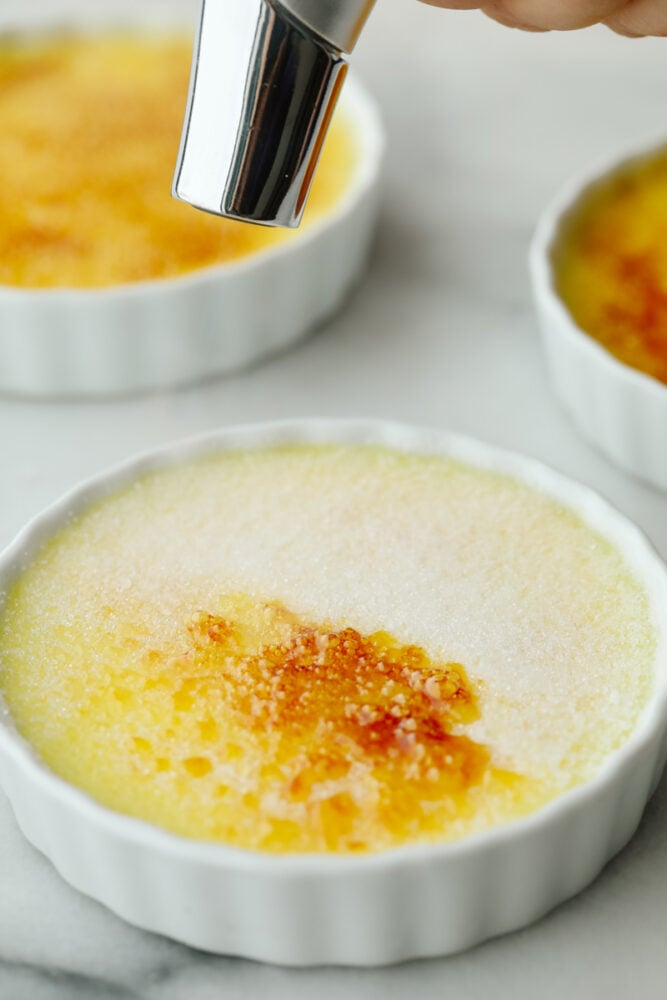
- Add sugar and torch: Sprinkle each custard with 1 tablespoon granulated sugar and torch or broil just until caramelized. Serve immediately or chill to serve later.
How Do I Get a Crisp, Caramelized Topping on Creme Brûlée?
There are two ways to caramelize your sugar on creme brûlée! Here are a few suggestions.
- Broil: You can set the creme brûlée on a baking sheet in the oven and broil for a couple of minutes.
- Torch: You can use a kitchen torch to torch the sugar for a nice even brown top! A kitchen torch is generally preferred because it won’t heat the custard as much as the oven, but don’t be afraid to make creme brûlée if you don’t have one!
How Far in Advance Can I Make This?
You can bake your creme brûlée, chill completely, then wrap and store for a few hours or up to 3 days before finishing and serving. When you are ready to serve it then add the sugar and torch it right then so it looks and tastes perfectly fresh!
How to Store Leftovers
If you have leftovers of this creme brûlée then you can totally save it for later! Wrap each ramekin with plastic wrap and place them in your fridge. They will last up to 3 days!

A Reader’s Review
This recipe is the BEST. I have used it several times and it has never failed me! This recipe is crowd-pleaser. With so few ingredients it can be made pretty cheap. I definitely recommend this life changing recipe!
-Mary
More Amazing Dessert Recipes to Try
If you are feeling confident now that you have conquered creme brûlée, then it’s time to try a few more desserts! I’ve rounded up a few of my very favorites that you and your entire family will love! They are simple enough to make but look impressive enough that your guests will wonder if you are a professional baker! Enjoy!
Desserts
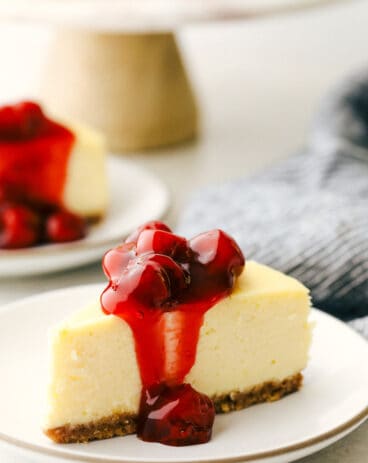
The Best New York Cheesecake Ever!
Desserts
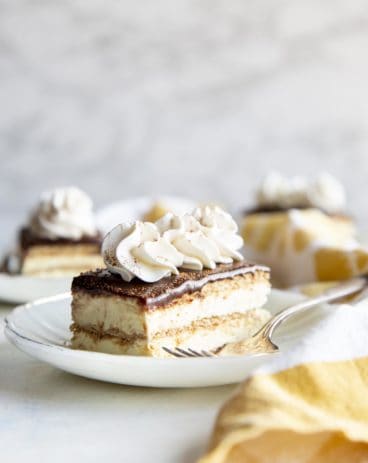
No-Bake Chocolate Eclair Dessert
Desserts
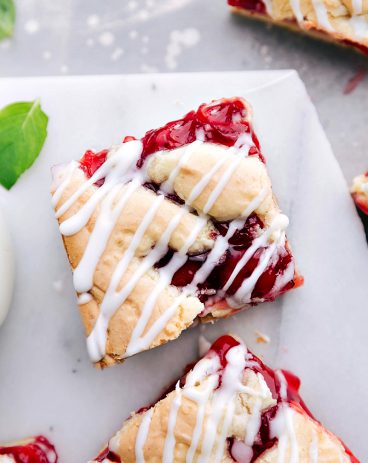
Cherry Pie Bars
Desserts
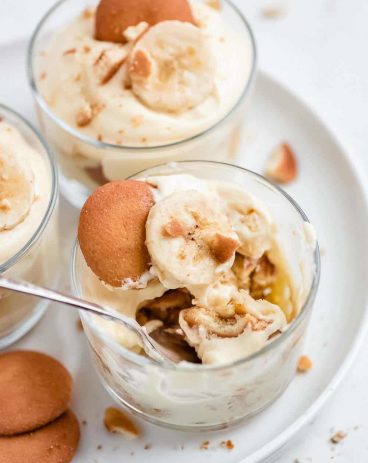
Magnolia Bakery Banana Pudding

Easy Creme Brûlée
This creme brûlée is a simple but elegant dessert that will impress all of your guests! You just can't beat a creamy custard topped with caramelized sugar and delicious fresh fruit!
Course Dessert
Cuisine American
Keyword creme brulee
Prep Time 10 minutes
Cook Time 30 minutes
Total Time 40 minutes
Servings 4 ramekins/servings
Calories 584kcal
Author Alyssa Rivers
Ingredients
- 2 cups heavy cream
- 4 egg yolks
- 1/3 cup granulated sugar (¼ if you prefer less sweet)
- 1 teaspoon vanilla
- 1/4 cup granulated sugar for topping
Instructions
- In a small pot, heat cream over medium heat until hot but not boiling — small bubbles will appear just along the edge of the pot.
- Meanwhile, whisk together egg yolks, ⅓ cup sugar, and vanilla — I like to do this in a large glass measuring cup for easy pouring!
- When the cream is hot, add it to the egg yolk mixture a little at a time, whisking well after each addition.
- Pour into 4, 7-8 ounce ramekins, (wider and shallower is better if you have them).
- Place filled ramekins in a large baking dish and fill the baking dish with hot water so that it comes ¾ of the way up the sides of the ramekins. Be careful not to get any water in the custard!
- Bake at 325 degrees F for 30-45 minutes. This will depend on how deep the custard is! (Smaller ramekins, deeper custard = longer bake time) The top will appear set but underneath it will still jiggle.
- Cool to room temperature and then refrigerate for at least 2 hours until chilled. (You can wrap and refrigerate up to 3 days).
- Sprinkle each custard with 1 tablespoon granulated sugar and torch or broil just until caramelized. Serve...
Please login to view full content. Log in or register now.
